
Ocularis Client Frequently asked Questions
Exporting Video
1. At the top menu bar, click “Browse” to shift to Browse mode. Once in Browse mode, click on “Live” to return to Live monitoring if desired.

2. Go to the desired date and time by pressing the “Go to a Specific Time” clock.

3. Use the go to time date roller and scroll up or down to the appropriate date and time.
4. Close the data and time roller by pressing the “Go to a specific time” clock.

4. Once the time line is set click on the “Set the start marker.” This will set the starting point at the play line.

6.Next slide the play reel to the left or right of the play line and click the “Set Stop Marker” to set the ending point.
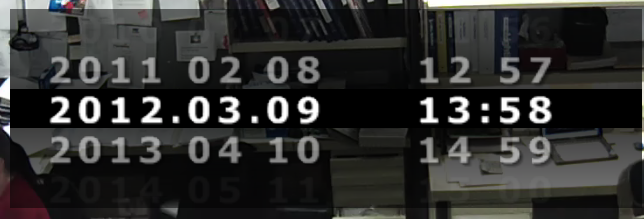
7. Once complete the play reel will turn purple over the selected area. (See Example Below)

8. Then click export on the top menu bar.

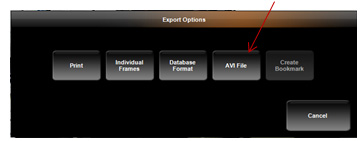
9. Once the “Export Option” window appears click on AVI File.
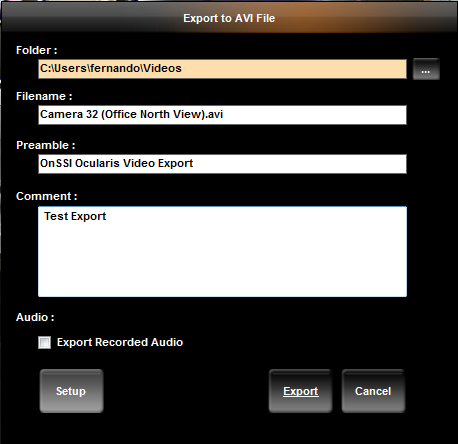
10. The “Export to AVI File” will appear.
- Select the folder you want the export to be stored.
- Change the file name if desired.
- Change the Preamble if desired.
- Add a comment if desired.
- Uncheck “Export Recorded Audio”
11. Please note: Video export times may vary depending on computer performance and network speeds. The video export file will be located in the selected folder once exporting is complete.