
Evo Guide
How to Access EVO
- To access EVO go to the following website evo.roc.netgainapps.com
- Login using the username and password provided
Call Pop Setup
Setup a New Company
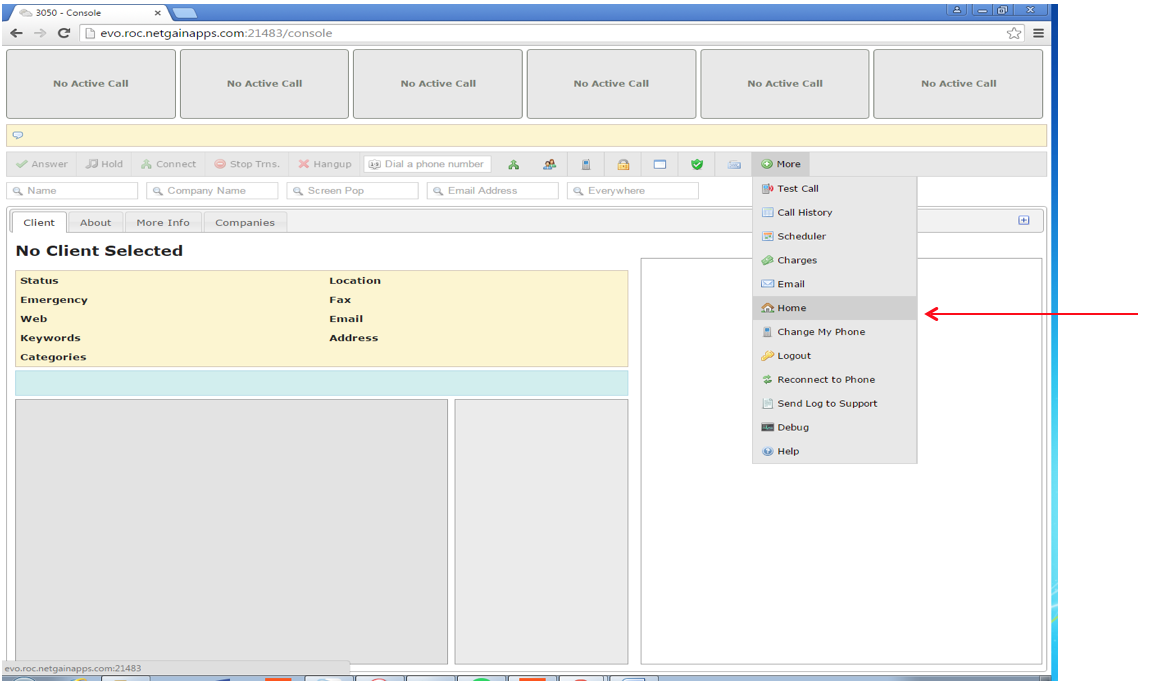
- From the Console screen, go to more and it will show a list of options.
- Click Home
3. Click the Organization tab and then + New Client
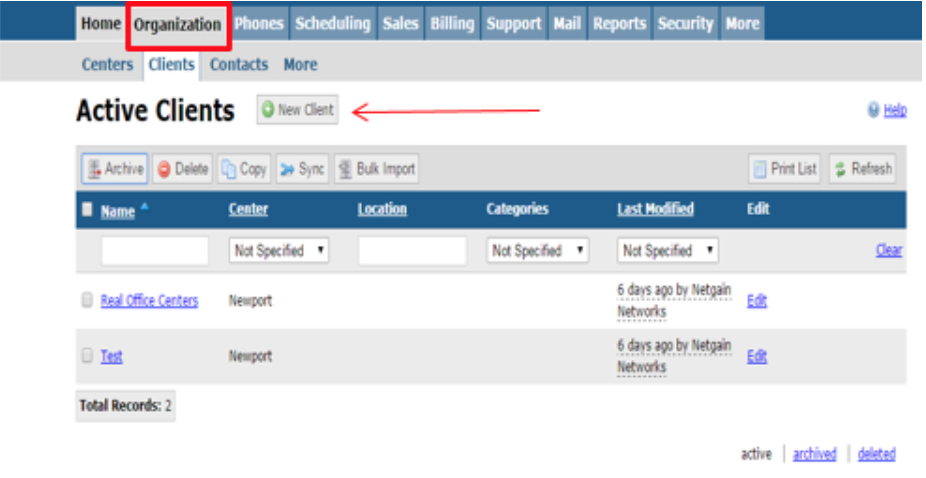
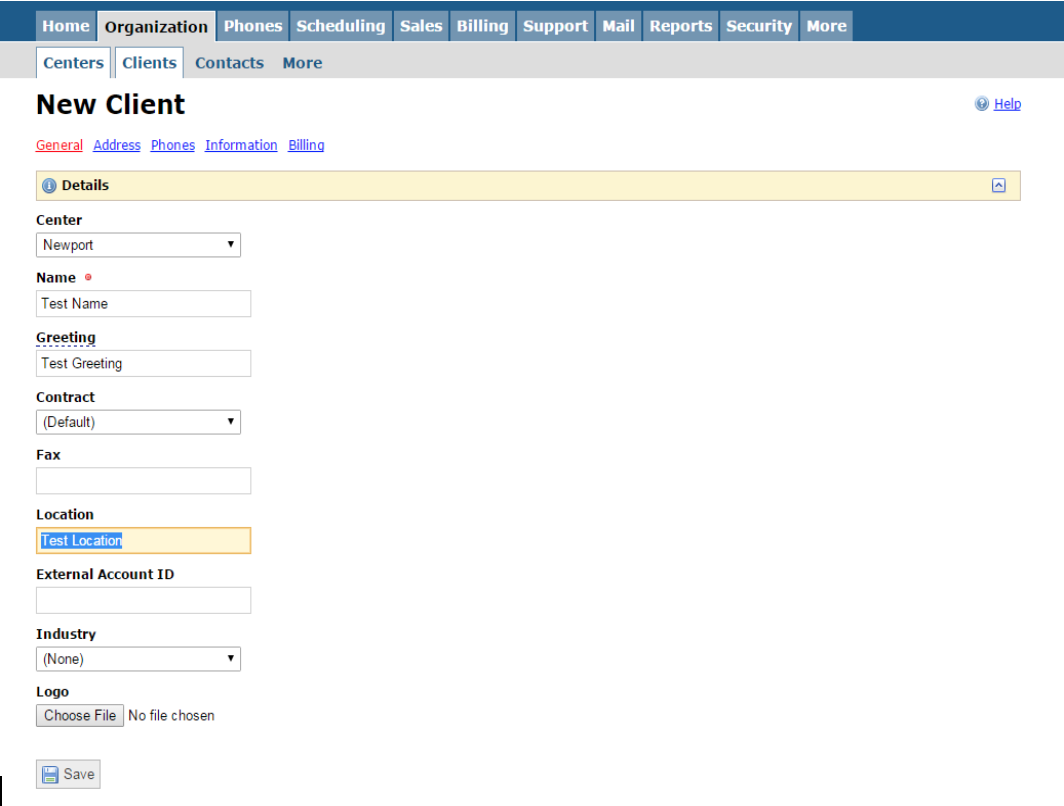
4. Make sure to select the correct Center for your location
5. Where it says Name, you must enter the company name of the client.
6. Next, enter the Greeting that the client would like you to use when answering the phone.
7. For Location, enter the client’s office #.
Here is an example –
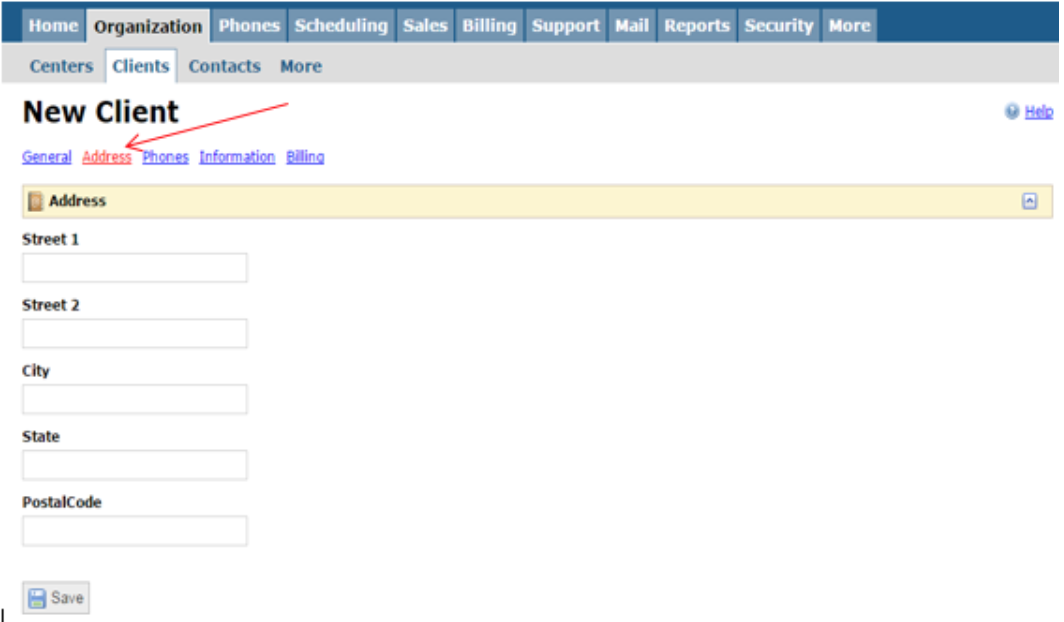
8. Click the Address tab and fill in the address of your location.
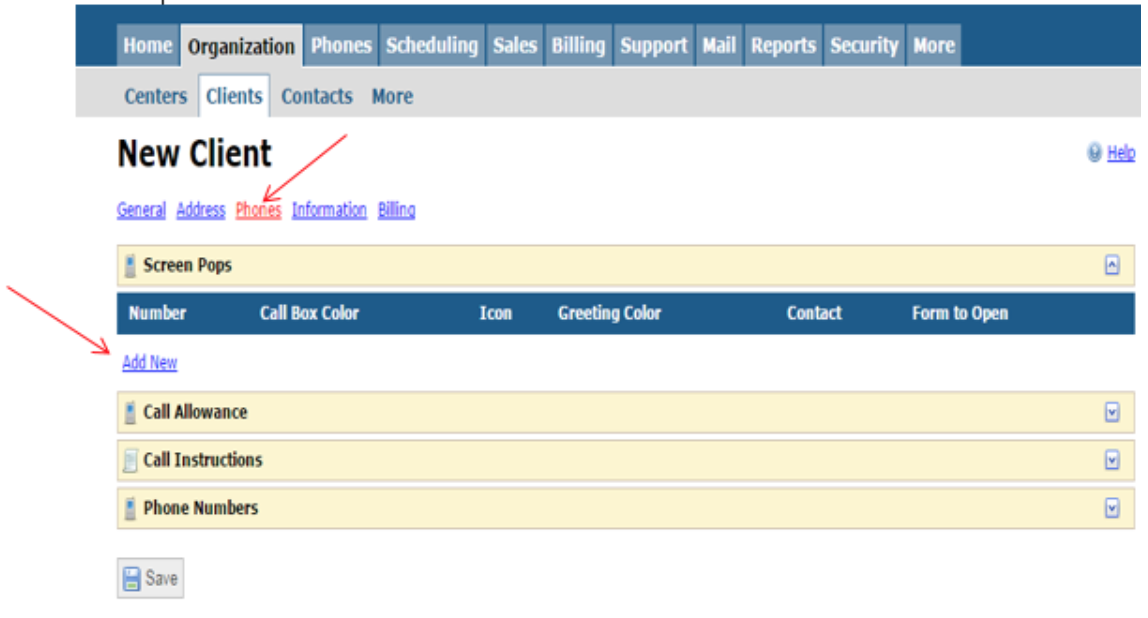
9. Click the Phones Tab
10. Where it says Screen Pops, click Add New
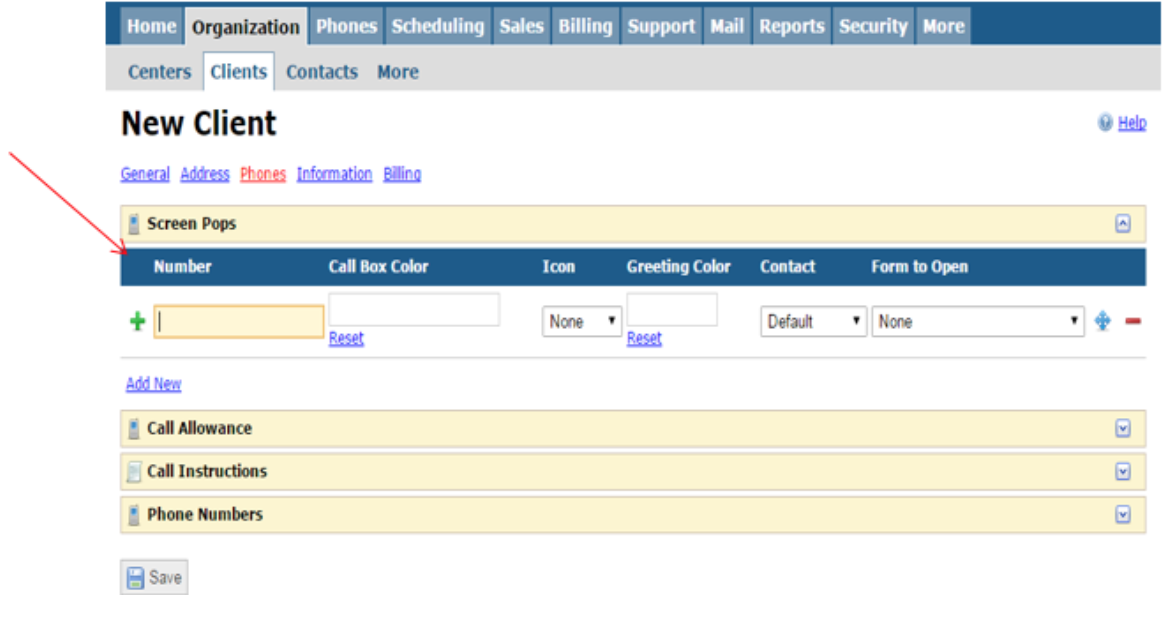
11. For Number, you will enter the Full 10 digit number the client was assigned.
a. If the client has more than one Number then you will need to Click Add New for each one.
12. Also add each extension that the client will have. This will allow the client to call you and it will show on the screen what company they are.
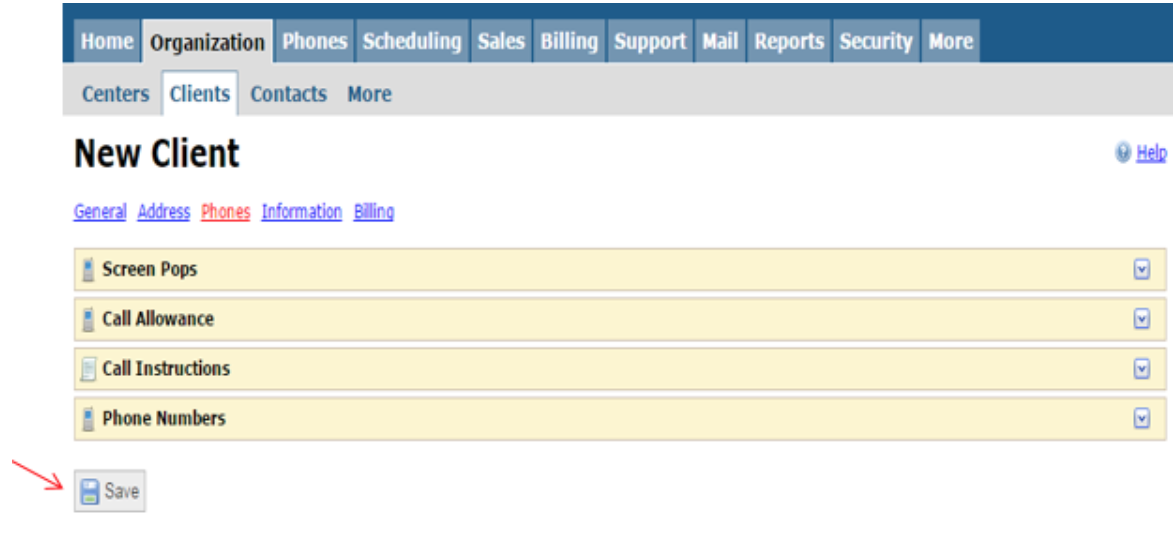
13. Click Save
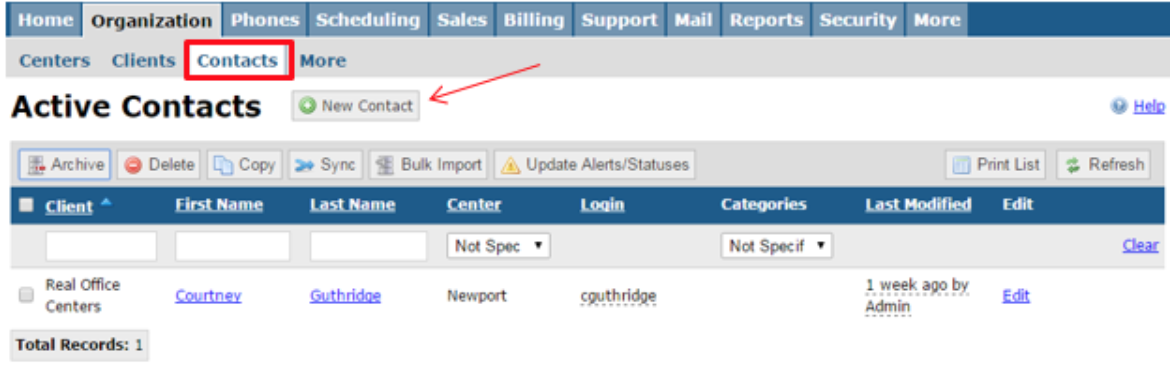
Create a New Contact for Existing Client
- Click the Contacts tab and click + New Contact
a. You will have to create a new contact for every person in the company that will be located in your office.
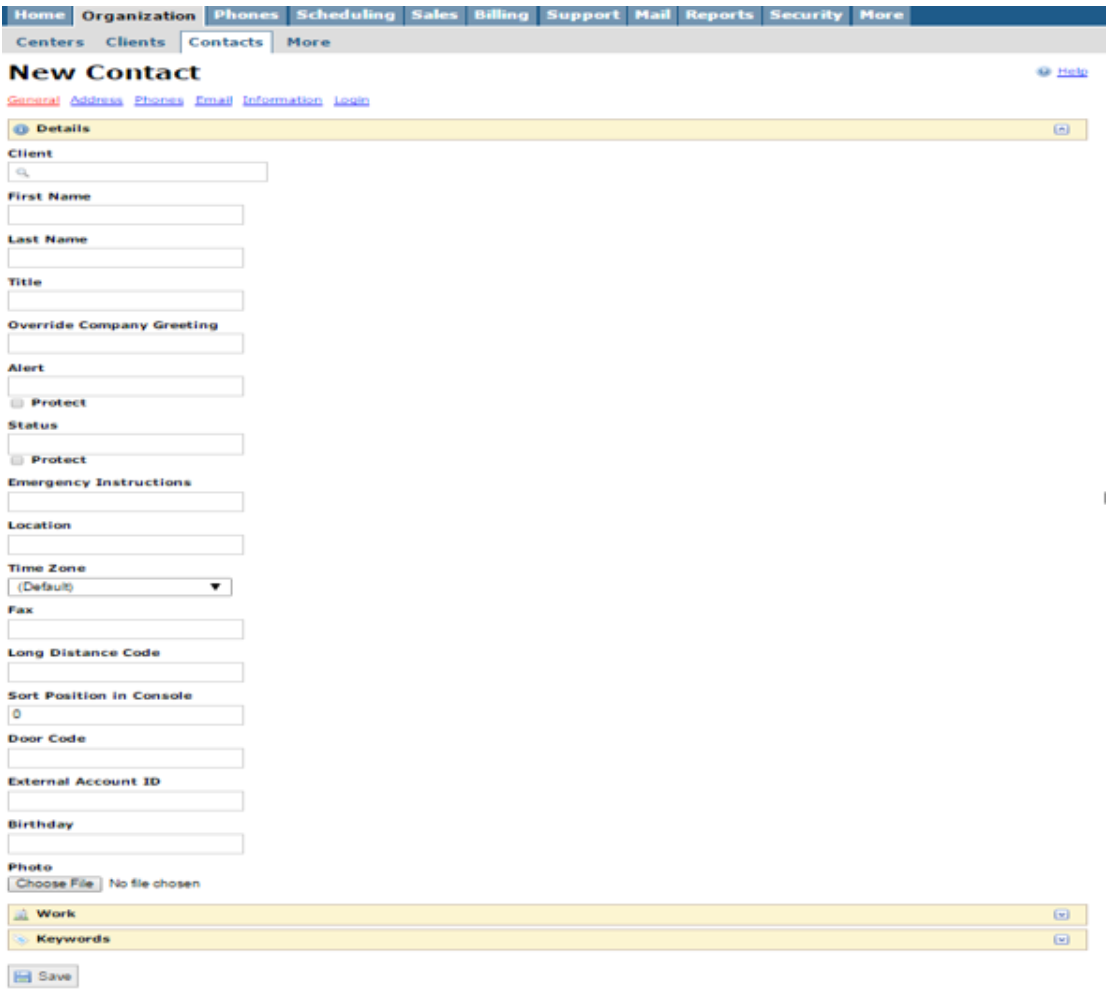
2. Where it says Client enter the company name you used for the client
3. First Name and Last Name – enter the client’s first and last name
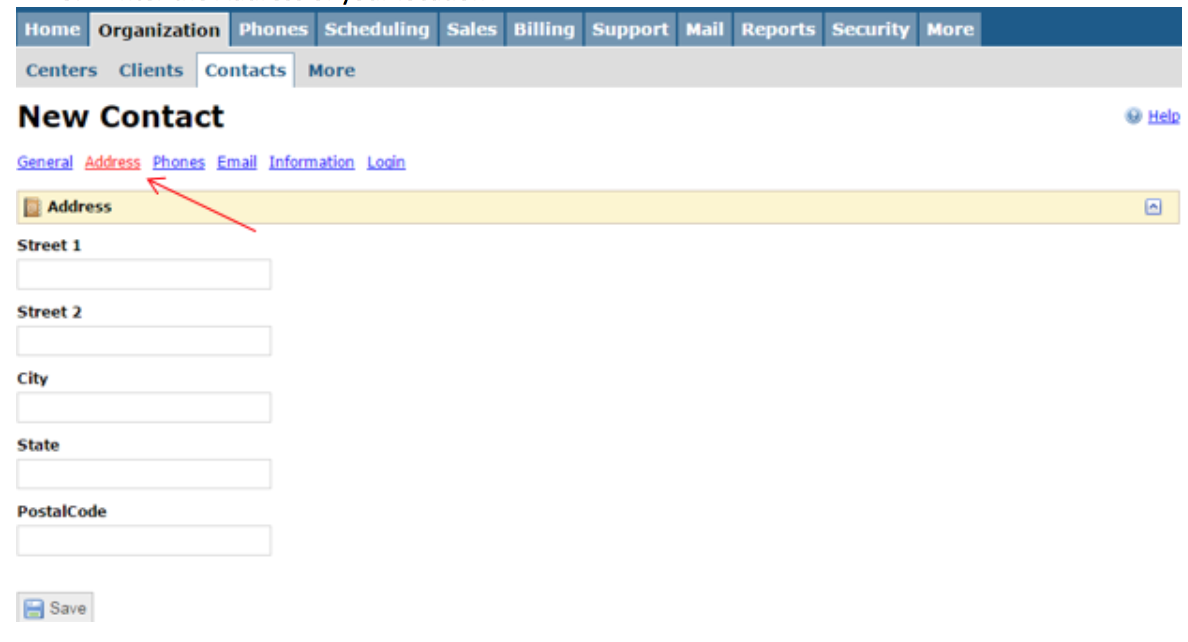
4. Click the Address tab
5. Enter the Address of your location
6. Click the Phones tab
7. Under Phone Numbers, click Add New twice
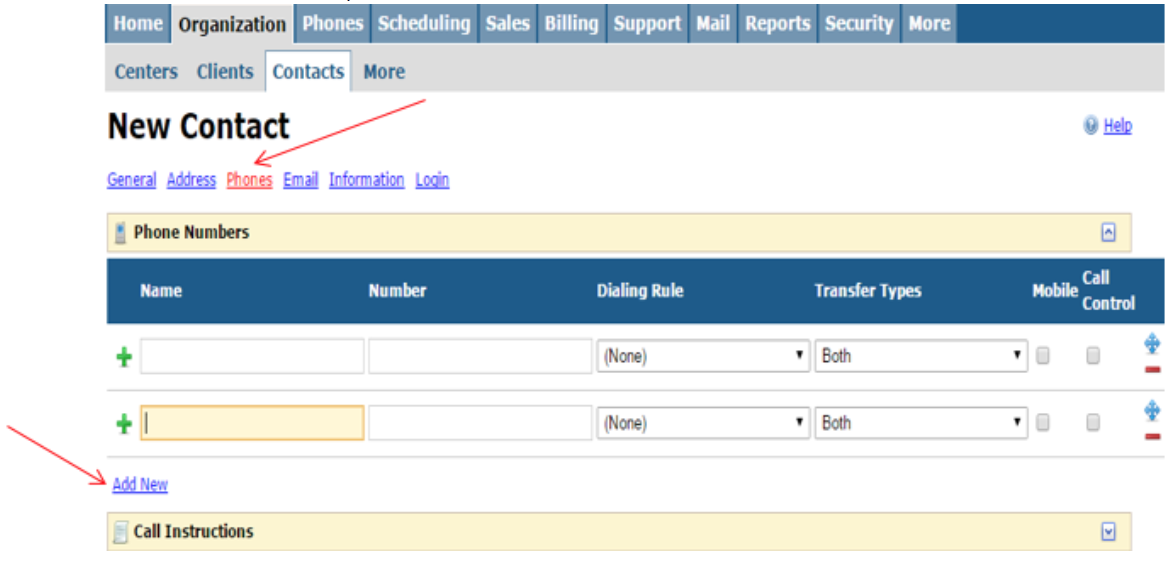
8. For Name, enter Desk for the first one and Voicemail for the second one. **It must be in that order.
9. For Number, enter only the extension for both.
10. The Desk Dialing Rule will be none. The Transfer Type will be both.
11. The Voicemail Dialing Rule will be Transfer to Voicemail. The Transfer Type will be blind.
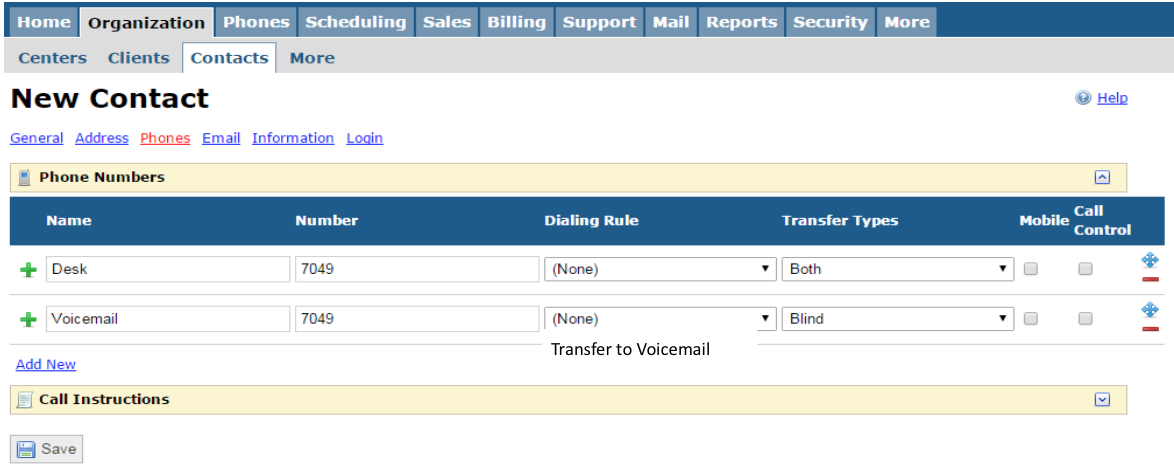
12. Click Save
Setup a Virtual Office Client
- For the virtual office client, you will do exactly the same as above except you will only enter the voicemail portion. Since these clients will not have a direct line and will only have a mainline, you will enter the last 4 digits of their mainline for the number
- If they also have a cell phone they want numbers to be transferred to, you would enter that in this section.
- If you are programming a Virtual Office client, you will most likely have a cell phone number to enter here unless they only want their calls to go to voicemail.
- Click Save
EVO User Login
Creating a User Login
To assign a user Login to a new user:
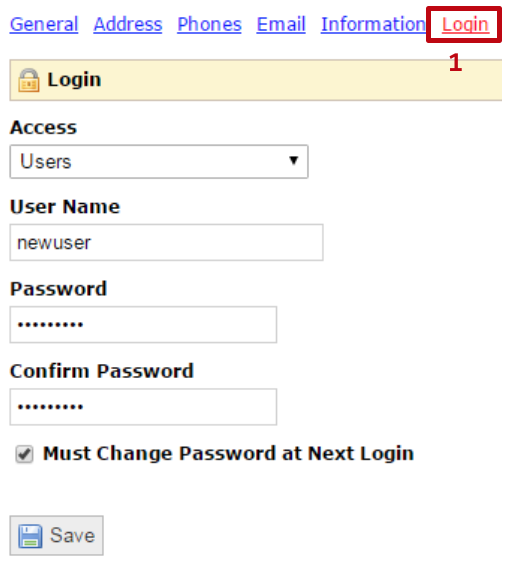
- Select the Login Tab under New Contact
- Access- Assign to desired User Security Group
- User Name –Assign login username
- Password – Set default password for first login
**Check Must change Password at Next Login
Creating a User Security Group
Security groups are ways to easily manage user permissions on
To create a new User Security Group, Hover your mouse on the top Tab bar over ![]() and select User Groups. On the Active User Groups Screen Select New User Group
and select User Groups. On the Active User Groups Screen Select New User Group ![]()
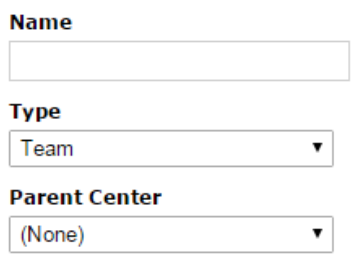
Details
Select Name that will be given to group
Select desired Type for group
Select location of Group under Parent Center
Roles
Roles specify what permissions users in this group have.
Access
Restrict what users in this user group can see by specifying tags. Leave tags blank for user to have access to everything
Notifications
Set desired notifications for Users in Groups.
When Done Click Save ![]()
EVO Console Interface
Picking Up Calls
To pick up a call you can do one of the following
- Pick up the handset/headset and start talking
- Click
 (this is best used with a headset)
 - Click
 (this is best used with a headset)
Placing Calls on Hold
To place a call on hold you can do one of the following
- Press hold on your phone
- Click on
 (this is the preferred method)
 - Click on
 (this is the preferred method)
Transferring Calls
Blind Transferring
Click on the green connect icon ![]() for the user that you would like to transfer the call to without letting them know that you are transferring the call to them. The call will then be transferred and it will hang up your phone and the client’s phone will start to ring.
for the user that you would like to transfer the call to without letting them know that you are transferring the call to them. The call will then be transferred and it will hang up your phone and the client’s phone will start to ring.
Assisted Transferring
Click on the underlined extension number. This will place your call on hold and dial the number for that extension.
If you want to complete the transfer you can click on ![]() or
or ![]()
If you would like to stop the transfer you can click on ![]()
Checking Call History
To check call history click on our phone.
Hover over ![]()
Click on ![]()
Click on the new tab called Call History that is now showing on the screen
![]()
This is what will be displayed

Click on any of the underlined columns to sort the column by that field. You can also search the calls by using the fields below the columns to enter information or to select the drop down boxes.