
How to Install Sonic Wall Net Extender
How to connect to SSL VPN (Sonic Wall Net Extender)
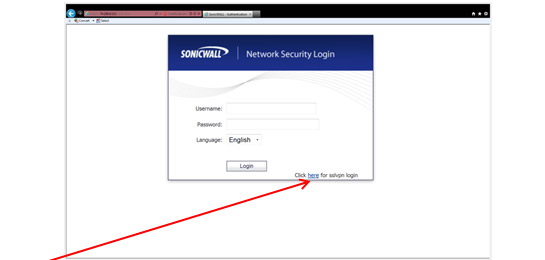
- Open Internet Explorer.
- In the Internet Explorer address bar, type the domain name or IP address provided by Netgain Networks.
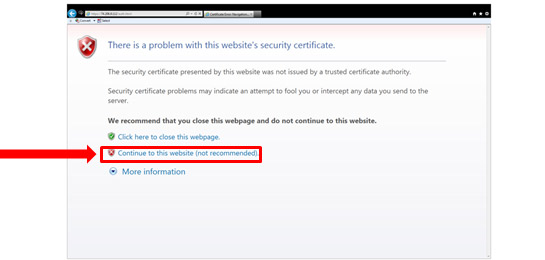
- Click on “Continue to this website (not recommended).”

4. In the phrase “Click here for sslvpn login,” click the hyperlink “here.”
5. When another Windows security certificate issue displays, select “Continue to this website (not recommended).”
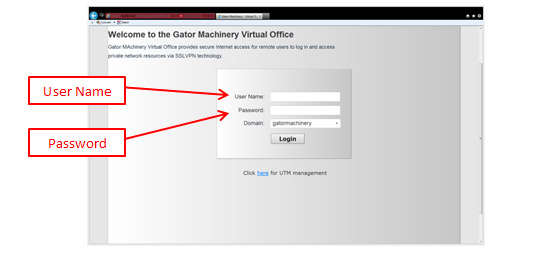
6. Add this webpage to your Favorites.
7. Enter the user name and password given to you by Netgain Networks (password and user name are case-sensitive).
8. Once logged on you will see the following on the Internet Explorer page:
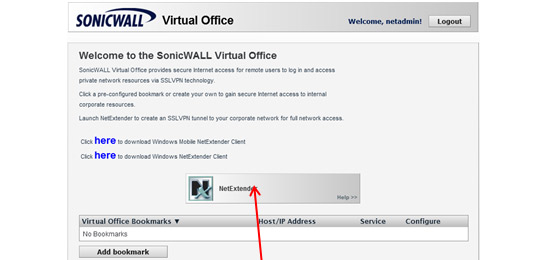
9. Click in the Net Extender icon.
10. If this is your first time using Net Extender, you will be prompted to install “Active X Control”.
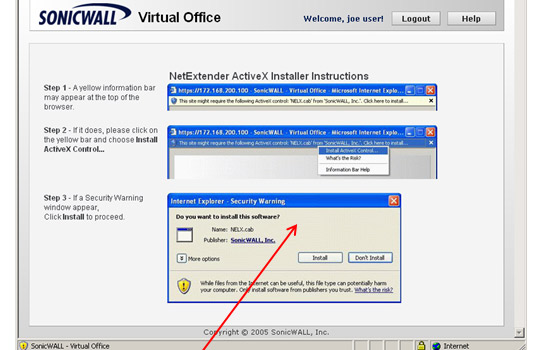
11. Click to install as prompted.
12. After installation or after clicking the Net Extender icon, the following pop-up displays:
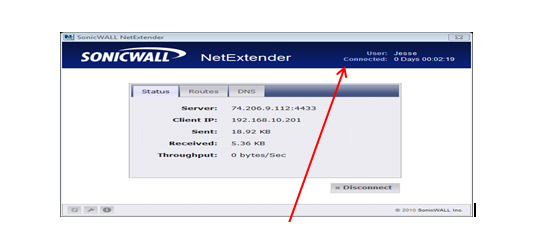
13. Verify that the popup reads “connected”.
14. At this point you have now connected to the SSL VPN.
Connecting to the RDP Server
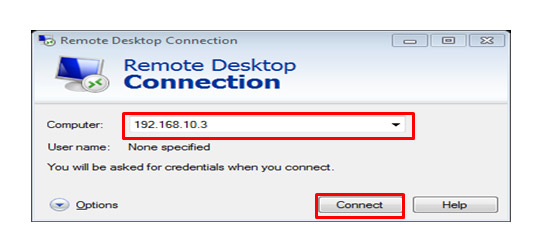
- Once SSL VPN connectivity has been established, click on the Remote Desktop Connection shortcut.
- It can be found by clicking Start > All Programs > Accessories.
- In the field marked “Computer,” enter the IP address of the machine being accessed.
4. You will be prompted to enter your user name and password.
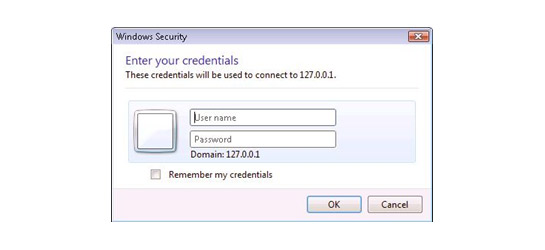
5. Enter the credentials as requested.
6. If additional support is necessary, please call 951-656-0194.