How to Send and View eFAX’s
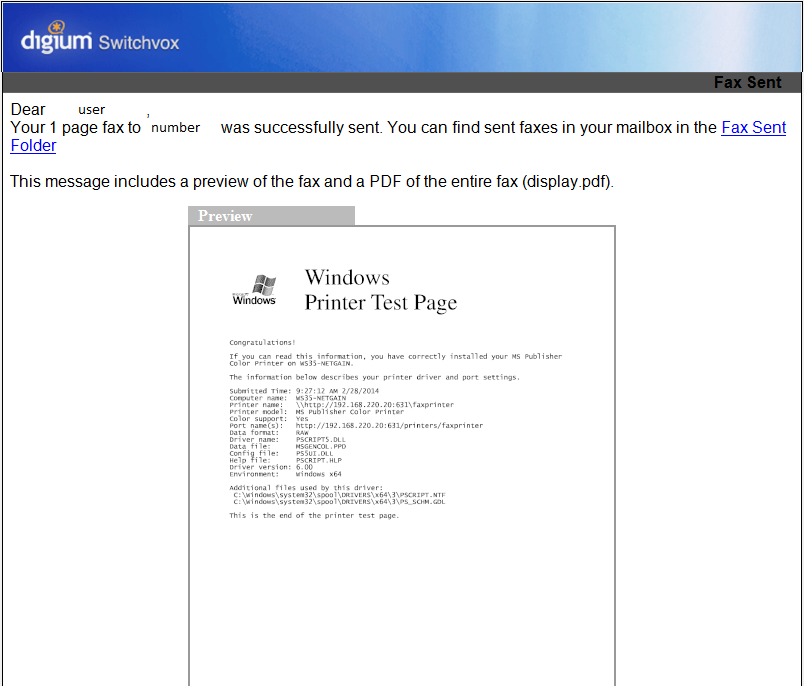
NOTE: You will receive an email when the fax shows up on your user interface.
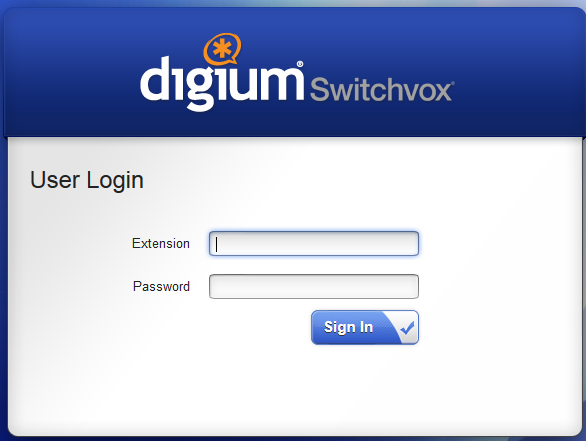
Log on to the user interface for Digium Switchvox
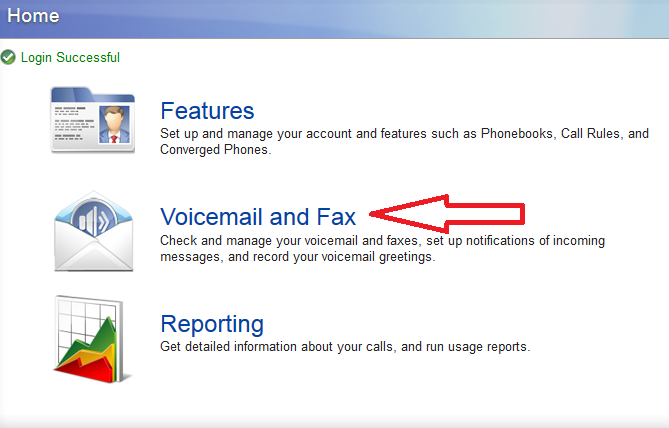
Click on ‘Voicemail and Fax’
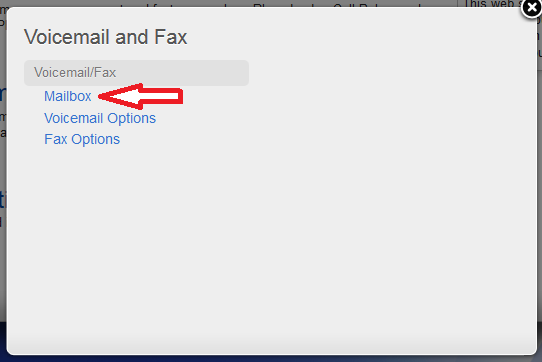
Select ‘Mailbox’
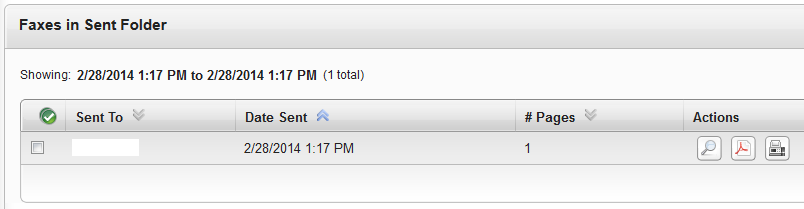
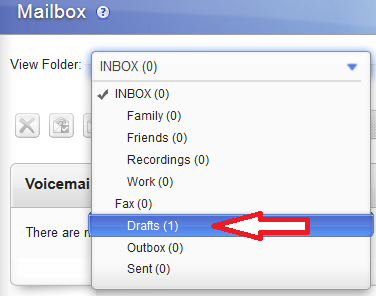
Click the drop down to change your ‘View Folder’
Select ‘Drafts’
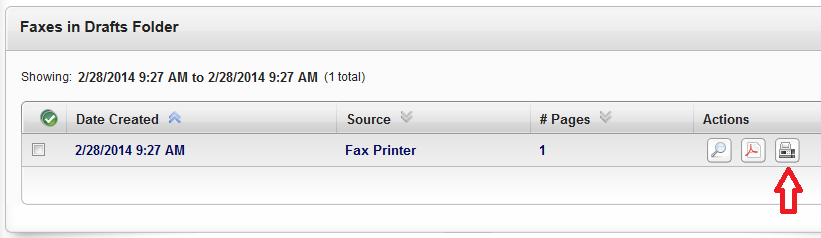
From here you can View and send your eFax
Select the send fax button
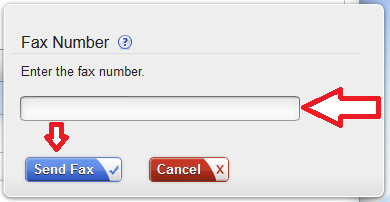
Enter the fax number and Click ‘Send’ Remember to add any dial out rules. For example if you need to enter a 9 to reach an outside line then add it before the fax number
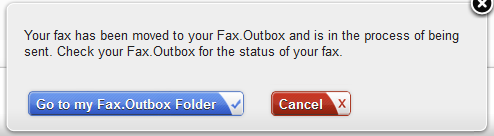
The Fax is in process of sending
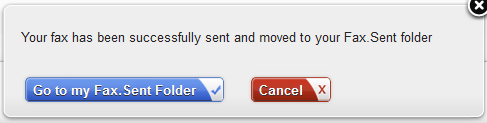
After the Fax is send successfully you will receive an email saying that it was successfully sent.
From here you can send the fax again